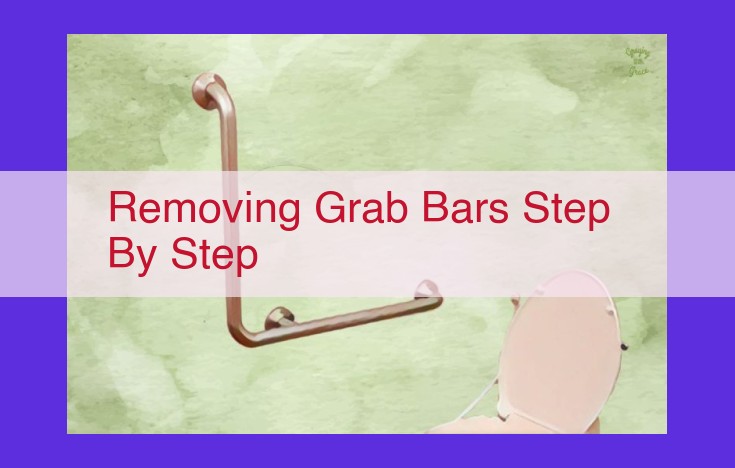
For safe grab bar removal, equip yourself with protective gear. Shut off water to prevent damage. Use a prying tool to remove escutcheons, revealing mounting screws. Unscrew them with the appropriate tool. Apply leverage to detach grab bars. Clean the mounting area with cleaner and degreaser to remove any residue.
Safety First: A Crucial Step Before Removing Grab Bars
When it comes to home improvement projects, safety should always be your top priority. This is especially true when dealing with potentially hazardous tasks like removing grab bars. Before you begin, make sure to take the following precautions:
-
Don appropriate gear: Wear protective gloves to shield your hands from sharp edges and safety glasses to protect your eyes from flying debris.
-
Close the water supply: Avoid flooding and potential damage by shutting off the water to the bathroom before you start.
-
Locate the escutcheons: Grab bars are typically secured with screws hidden beneath decorative cover plates called escutcheons. Use a prying tool or flathead screwdriver to carefully remove these cover plates.
-
Unscrew the screws: Once the escutcheons are removed, identify the type of screwdriver or socket wrench needed to loosen the mounting screws holding the grab bars in place.
-
Detach the grab bars: Apply leverage and force to carefully remove the grab bars from the mounting surface. Be gentle to avoid damaging the walls or fixtures.
-
Clean up: After removing the grab bars, use appropriate cleaning supplies and a degreaser to thoroughly clean the mounting area. This will ensure that there are no remaining traces of adhesive or dirt.
Shutdown the Water Supply: A Critical Step in Removing Grab Bars
When embarking on the task of removing grab bars, it’s imperative to prioritize safety. Before commencing any work, shutting off the water supply is an essential step that should not be overlooked. This simple action can prevent costly damage and ensure a smooth, problem-free process.
Picture this: you’re all set to remove the grab bars in your bathroom, eager to create a new, updated look. However, in your haste, you forget to turn off the water. As you unscrew the mounting screws, the force causes the pipes to loosen, and before you know it, a sudden gush of water floods the room.
Not only does this create a messy situation, but it can also damage your bathroom fixtures, walls, and flooring. In the worst-case scenario, you could end up dealing with costly repairs that could have been easily avoided.
By turning off the water supply first, you can prevent this scenario altogether. Take the time to locate the water shutoff valve, typically found under the sink or behind the toilet. Turn it off completely, and you can rest assured that no water will come gushing out when you remove the grab bars.
Remember, safety should always come first when working on home improvement projects. By following this simple step, you can protect yourself from injury and prevent costly damage to your property. So, before you grab your tools, take a moment to shut down the water supply. It’s a small step that can make a big difference in ensuring a successful and stress-free removal process.
Uncovering the Escutcheons: A Delicate Dance to Access Hidden Screws
As you embark on the task of removing grab bars, revealing the hidden mounting screws is a crucial step. Beneath their decorative guise, escutcheons conceal these essential fasteners. To unveil them, you’ll need a gentle touch and the right tools.
A Prying Tool’s Deft Stroke
A thin prying tool is your ally in this endeavor. With precision, insert its tip beneath one edge of the escutcheon. Apply gentle pressure to pry it loose, being mindful not to damage the surrounding surface.
The Flathead’s Subtle Power
If a prying tool fails to win the day, a flathead screwdriver may prove victorious. Slide its tip into the notch on the escutcheon’s edge and twist gently. The screw driver’s leverage will coax the cover plate free.
Tips for a Smooth Uncover
- Avoid excessive force: Delicacy is key. Excessive force can mar the escutcheon or the surrounding surface.
- Use a clean tool: A dirty tool can scratch the escutcheon or transfer grime to the mounting surface.
- Go slow and steady: Patience is a virtue. Rushing the process can lead to accidents or damage.
Once the escutcheons are removed, the path to loosening the mounting screws and removing the grab bars is clear. By following these steps with care, you can ensure a safe and successful grab bar removal process.
Unscrew the Screws: A Crucial Step in Grab Bar Removal
As you embark on the task of removing grab bars, the next step involves carefully unscrewing the mounting screws. The type of screwdriver or socket wrench you need depends on the specific design of your grab bars.
Identifying the Right Tool:
Before you delve into your toolbox, inspect the screw heads to determine their shape. Most grab bars will utilize either Phillips head or hex (Allen) screws.
- Phillips head screws: Resemble a “+” sign and require a Phillips head screwdriver.
- Hex head screws: Have a six-sided socket and necessitate a hex key or socket wrench with the corresponding size.
Loose and Remove:
Once you have the appropriate tool in hand, gently loosen the screws by turning them counterclockwise. Avoid excessive force, as you don’t want to strip the screw heads or damage the surrounding surface.
As you loosen each screw, observantly check for any signs of resistance. If a screw is particularly stubborn, apply a small amount of penetrating lubricant to ease its removal.
Safety Precautions:
Remember to prioritize safety at all times. Wear appropriate gloves to protect your hands from sharp edges and potential splinters. If the grab bars are located in a damp area, ensure the electrical supply is completely shut off before proceeding.
Detaching the Grab Bars
Gently apply leverage:
With steady hands, grasp the grab bar on each end and wiggle it gently back and forth. Avoid applying excessive force, as this could damage the mounting surface.
Increase pressure gradually:
If the bar remains stuck, gradually increase the pressure you apply. Use your body weight to push or pull the bar in the direction opposite the wall.
Use a flat tool for assistance:
If significant resistance persists, carefully insert a flat tool, such as a putty knife or pry bar, into the gap between the grab bar and the wall. Gently pry the tool to create a small opening.
Apply force with caution:
Once a small gap is created, use a controlled force to pull or push the grab bar away from the wall. Avoid using excessive force or sudden movements to prevent damage.
Extract the bar carefully:
Once the grab bar is loosened, slowly and carefully extract it from the wall. Check for any remaining screws or fasteners that may still need to be removed.
Tips for a smooth removal:
- Ensure the mounting screws have been completely unscrewed.
- If the grab bar is particularly stubborn, use a penetrating oil to loosen it.
- Exercise caution and patience throughout the process to avoid damaging the wall or the grab bar.
Clean Up the Scene: Finalizing Your Grab Bar Removal
Once you’ve successfully detached the grab bars, it’s crucial to thoroughly clean the mounting area. This step ensures a smooth and residue-free surface for any future installations and prevents any lingering adhesive or dirt from affecting the aesthetics of your bathroom.
Start by carefully wiping down the area with a damp cloth to remove any loose debris or water droplets. Next, apply a degreaser or cleaning solution specifically designed for removing adhesive residue. Douse a cleaning cloth or sponge with the solution and apply it to the mounting surface. Use gentle circular motions to dissolve the adhesive, taking care not to damage the underlying surface.
Allow the degreaser to sit for a few minutes to penetrate the adhesive. Then, use a clean, damp cloth to wipe away the dissolved adhesive and any remaining cleaning solution. Rinse the area with clean water to remove any traces of chemicals.
Once the mounting surface is clean, use a dry cloth to thoroughly dry the area and remove any excess moisture. This step will prevent water damage to the surface or any future installations. By following these cleaning steps meticulously, you’ll ensure that your bathroom is left spotless and ready for a fresh start.


